
How Long Does Auto Window Tint Take to Dry and Cure? Understanding the Process
GET A FREE ESTIMATEGetting your car windows tinted can be an exciting upgrade, promising more privacy and a cooler interior. But there’s something you might not think about: how long that new tint takes to dry and cure properly. It turns out that the drying process is not as quick as you may hope! Most people expect to roll down their windows right after getting the tint installed, but patience is key here. In fact, the time it takes for auto window tint to fully set can vary based on several factors, from the type of film used to the weather conditions. So before you let the windows down or wash your car, it’s important to understand what goes into this drying process—and how long you should actually wait for the best results.
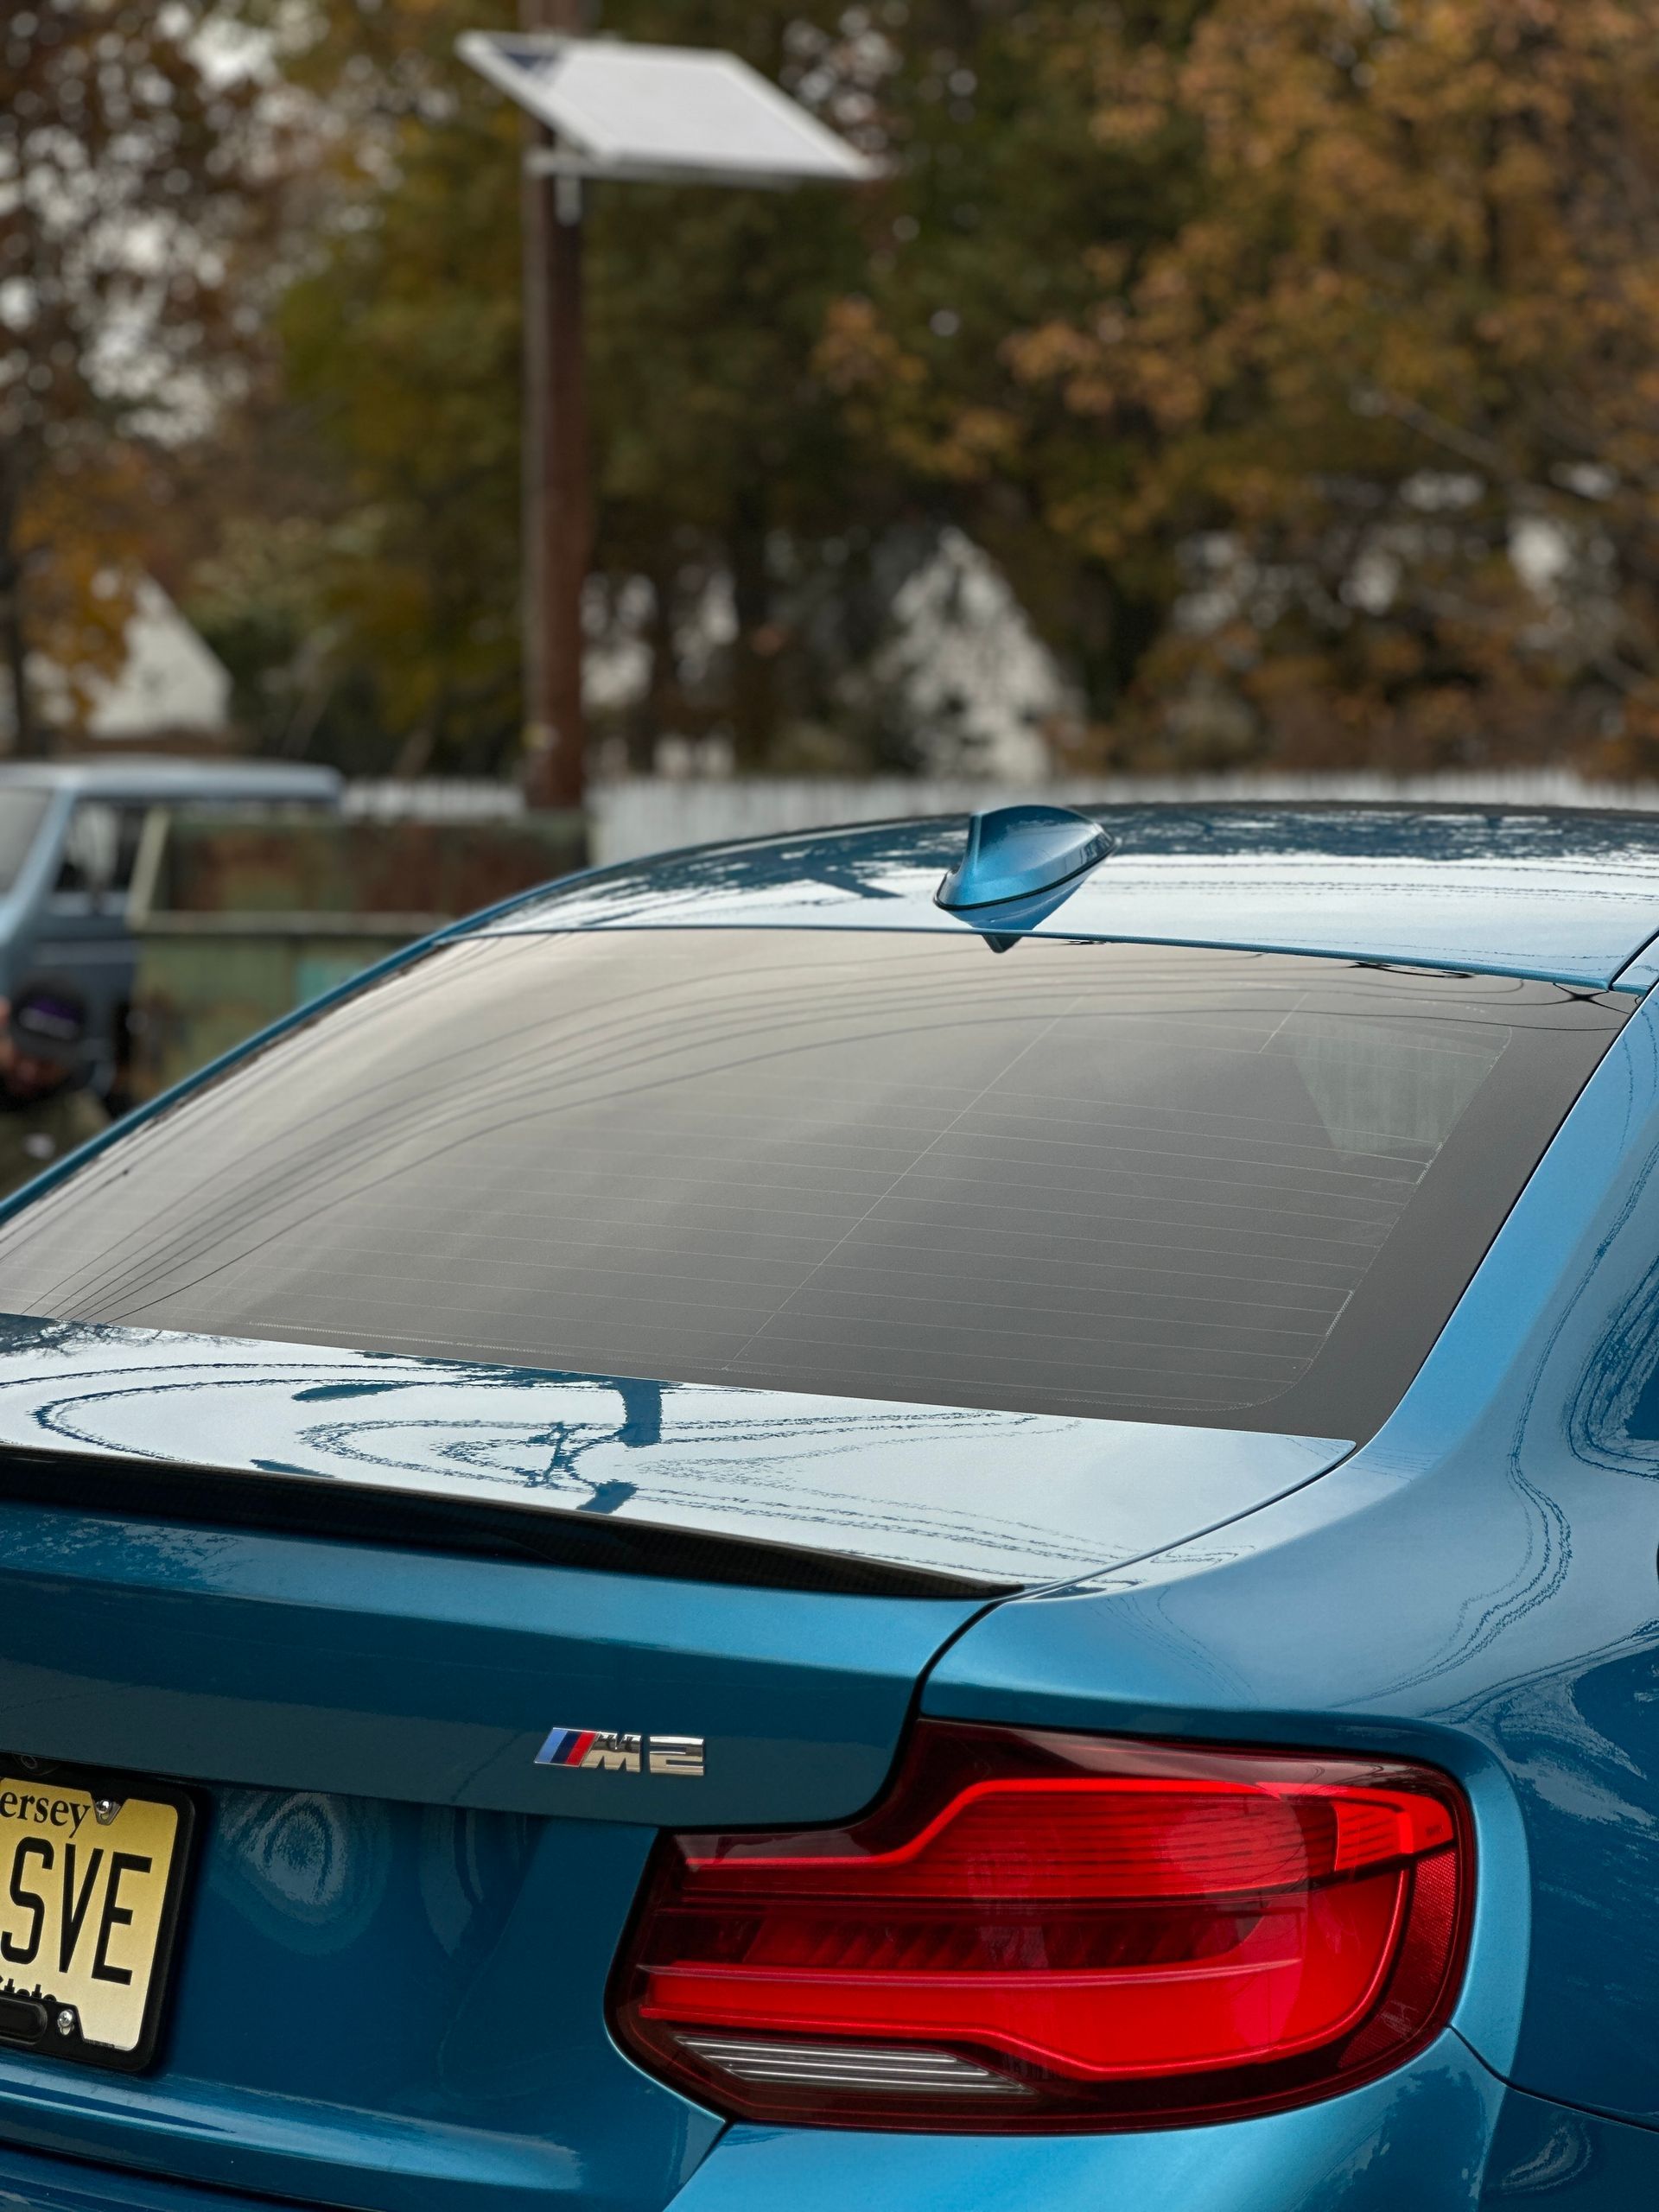
Auto window tint typically takes at least 2-3 days to fully dry and cure, although some professionals may suggest a minimum wait of 24 hours after installation. Factors such as the installation method and environmental conditions can influence this drying time, so it's best to follow specific guidelines provided by your installer or the manufacturer for optimal results.
General Drying Time for Car Window Tint
Car window tint, while fantastic for reducing glare and increasing privacy, requires a careful touch when it comes to drying. When you have your windows tinted by a professional, it's essential to respect the recommended drying times. In a typical scenario, car window tints usually take around 2 to 3 days to properly dry before you can safely roll down the windows. This timeframe allows the adhesive used in the installation process to fully bond and ensure that the film adheres securely to the glass. Many manufacturers suggest waiting at least 24 hours as a minimum threshold, but for optimal results—especially under less than ideal conditions—you might want to hold off for up to 5 days. It’s a common best practice that can make all the difference in maintaining the lifespan of your tint. However, these drying times can shift depending on various factors, and understanding these nuances is critical.
Factors That Affect Drying Time
- Type of Tint Applied: Different types of tints have varying drying characteristics. For instance, ceramic tints may cure faster due to their unique composition compared to dyed films.
- Environmental Conditions: The surroundings where your vehicle is parked play a significant role; warmer temperatures and lower humidity levels are conducive to quicker drying. If it’s sunny outside, consider parking your car in direct sunlight, as this can help accelerate the drying process.
- Quality of Installation and Curing Method Used: How expertly the film is applied also influences drying time. A professional installation that uses high-quality materials is more likely to provide a faster-drying result than a hasty DIY job where moisture may be trapped beneath the surface.
Given these considerations, it’s wise to consult with professionals regarding the type of tint you’re getting and any specific instructions they may have concerning its maintenance immediately post-installation.
Environmental Impact on Drying
- Weather Conditions: One of the first things to consider is temperature. When it's warm outside, especially in the range of 70°F to 80°F (21°C to 27°C), you will find that the window tint dries significantly faster. Parking your vehicle in direct sunlight after installation can reduce drying time dramatically, sometimes shortening it down to just 24 to 48 hours! However, in colder climates or rainy conditions, you might be looking at an extended drying period of up to a week. Lower temperatures slow down the chemical reactions needed for the adhesive to cure properly, making warmth a crucial ally for speedy results.
- Humidity Levels: Another vital aspect is humidity, which plays a significant role in this process. Higher humidity levels can trap moisture between the glass and the window film, leading to bubbles and peeling. Excess moisture prevents the adhesive from bonding effectively, extending your drying time. On the flip side, drier climates facilitate quicker drying times since there’s less moisture lingering around to hinder adhesion. It’s worth noting that using fans or ensuring proper airflow inside your car can assist with evaporation, leading to quicker curing.
Given how much these environmental factors influence drying time, understanding how to navigate them will help ensure optimal adhesion and appearance. As we explore further, it becomes necessary to think about how varying qualities and types of film can also impact your tinting experience.
Expected Curing Period
Even after the initial drying phase, the tint continues to cure, which is an integral part of ensuring that your investment lasts. Curing is the time it takes for the adhesive to fully bond with the window surface, solidifying the tint film in place. While you might think that once it's dry, it’s good to go, that’s not entirely accurate. This process makes a significant difference in how well the tint performs over time.
Define Curing
Curing refers to the time it takes for the adhesive used in the tinting film to achieve its optimal bond with the glass. This occurs after that initial drying period many people eagerly anticipate. Though your windows may appear set up for use right after installation, they still need ample time to adhere properly. For most tints, this curing process can take up to 3-4 weeks in moderate climates. However, in cooler environments or high humidity conditions, this period can stretch out to 6 weeks or even longer. Understanding these timelines is essential—if you rush it and roll down your tinted windows too soon, you risk interrupting this critical bonding process.
Common Timeframes
During this curing period, several factors affect drying times. Weather conditions stand out; direct sunlight and warmer temperatures considerably speed up drying times, while colder weather naturally delays them. The type of tint film also plays a role; different compositions—such as ceramic versus solar—vary in how quickly their adhesives cure. Additionally, application techniques employed during installation can enhance adhesion and significantly affect drying time.
Therefore, it's generally recommended to wait a minimum of 24-48 hours after tinting before rolling down or using your windows regularly. Ideally, extending that wait time to 3-5 days is advisable for achieving optimal results. If you live in a region with particularly unfavorable climatic conditions, it may be wise to wait up to a week. This simple act of patience can secure your investment against unnecessary repair costs caused by premature usage. As tempting as it may be to roll down those tinted windows on your first outing, remember: Allowing adequate time for proper curing isn’t just about aesthetics—it’s also about maintaining functionality and ensuring that your windows serve you well for years to come.
Maintenance After Installation
Proper maintenance post-installation is key to ensuring that your window tint not only lasts longer but also performs beautifully. When you first get your windows tinted, they may look fabulous, but neglecting them shortly after application can lead to disappointment down the line. It's important to treat your newly tinted windows with care during those early days.
- Immediate Care: After the installation, it’s essential to avoid rolling down the windows for at least 48 hours. This adherence allows the tint to properly adhere to the glass without the risk of any air bubbles forming. Additionally, during the first week, protect your investment by refraining from washing your car or using cleaning products on the tinted windows. If you can resist that urge, you're giving the films a chance to settle firmly in place, ensuring longevity and effectiveness. Remember, patience is more than just a virtue in this scenario; it’s a necessity!
- Long-term Maintenance: Once you're past that initial period, it’s time to think about long-term care. Using a soft microfiber cloth along with pH-neutral cleaning solutions is ideal when you clean your tinted windows. This method will not only keep them spotless but also ensure that you’re not inadvertently harming the tint film with harsh chemicals. It’s absolutely essential to steer clear of ammonia-based cleaners, as they can degrade both the adhesive and the tint itself over time. By regularly inspecting your tinted windows for scratches or defects, you can catch potential issues before they become serious problems. This proactive approach helps maintain both appearance and functionality—after all, a little bit of prevention goes a long way!


Common Drying and Curing Issues
The journey of installing window tint doesn't end with application; it requires patience as it dries and cures. One frequent problem encountered during this phase is the formation of bubbles under the tint. These unsightly bubbles usually stem from trapped moisture at the time of installation. While they may cause concern, most bubbles will gradually dissipate during the curing period, which can take anywhere from several days to a couple of weeks, depending on factors like humidity and temperature. If they persist beyond this timeframe, consult your installer for possible solutions.
Typical Problems
A frequently encountered concern following window tint installation is the appearance of a hazy or cloudy film across the tinted surface. This condition is often attributed to elevated humidity levels during the application process, which can temporarily interfere with the film's clarity. I personally observed this effect after having my vehicle tinted during the peak of summer. Initially disheartened by the cloudy finish, I soon learned that it was a normal, short-lived result of environmental moisture. Within a few days—once the humidity subsided and the film continued curing—the windows cleared up entirely, reaffirming the importance of choosing favorable weather conditions for installation.
Beyond temporary haziness, more significant issues can also arise if the application or curing process is compromised. One such issue is the peeling of the film at the window’s edges, which often indicates improper sealing or contamination during installation. This problem may result from dust infiltration or misalignment of the film and, if not promptly addressed, can spread and ultimately necessitate a complete reapplication. Peeling not only detracts from the visual quality of the tint but also reduces its functional integrity by allowing moisture and debris to enter between the film and the glass.
Preventing such complications requires a proactive approach. Monitoring your window tint during the curing phase is crucial, as early detection of irregularities allows for timely intervention. Understanding the typical behaviors of newly applied film—such as minor bubbling, light haze, or slow curing in cooler temperatures—can help differentiate between normal settling and issues requiring professional correction.
By staying informed and attentive throughout the tint’s initial curing period, vehicle owners can avoid unnecessary frustrations and preserve the long-term performance and appearance of their tint. Proper care, combined with awareness of potential challenges, ensures a more reliable and stress-free experience—one that enhances your comfort, privacy, and overall driving satisfaction.
Exceptional Window Tinting Services in Elmwood Park, NJ
Automotive Specialty Wraps delivers
expert window tinting services in Elmwood Park, NJ, designed to enhance driving comfort, reduce interior heat, and protect against harmful UV rays. Their professional-grade films are applied with precision to ensure a flawless finish that not only boosts privacy but also preserves your vehicle’s interior from sun damage. Whether you’re aiming for improved glare reduction or a more refined appearance, their team provides tailored solutions that meet your specific needs.
Schedule your window tint appointment
today and experience lasting performance with a polished result!